by Paul Stavig ... 2025
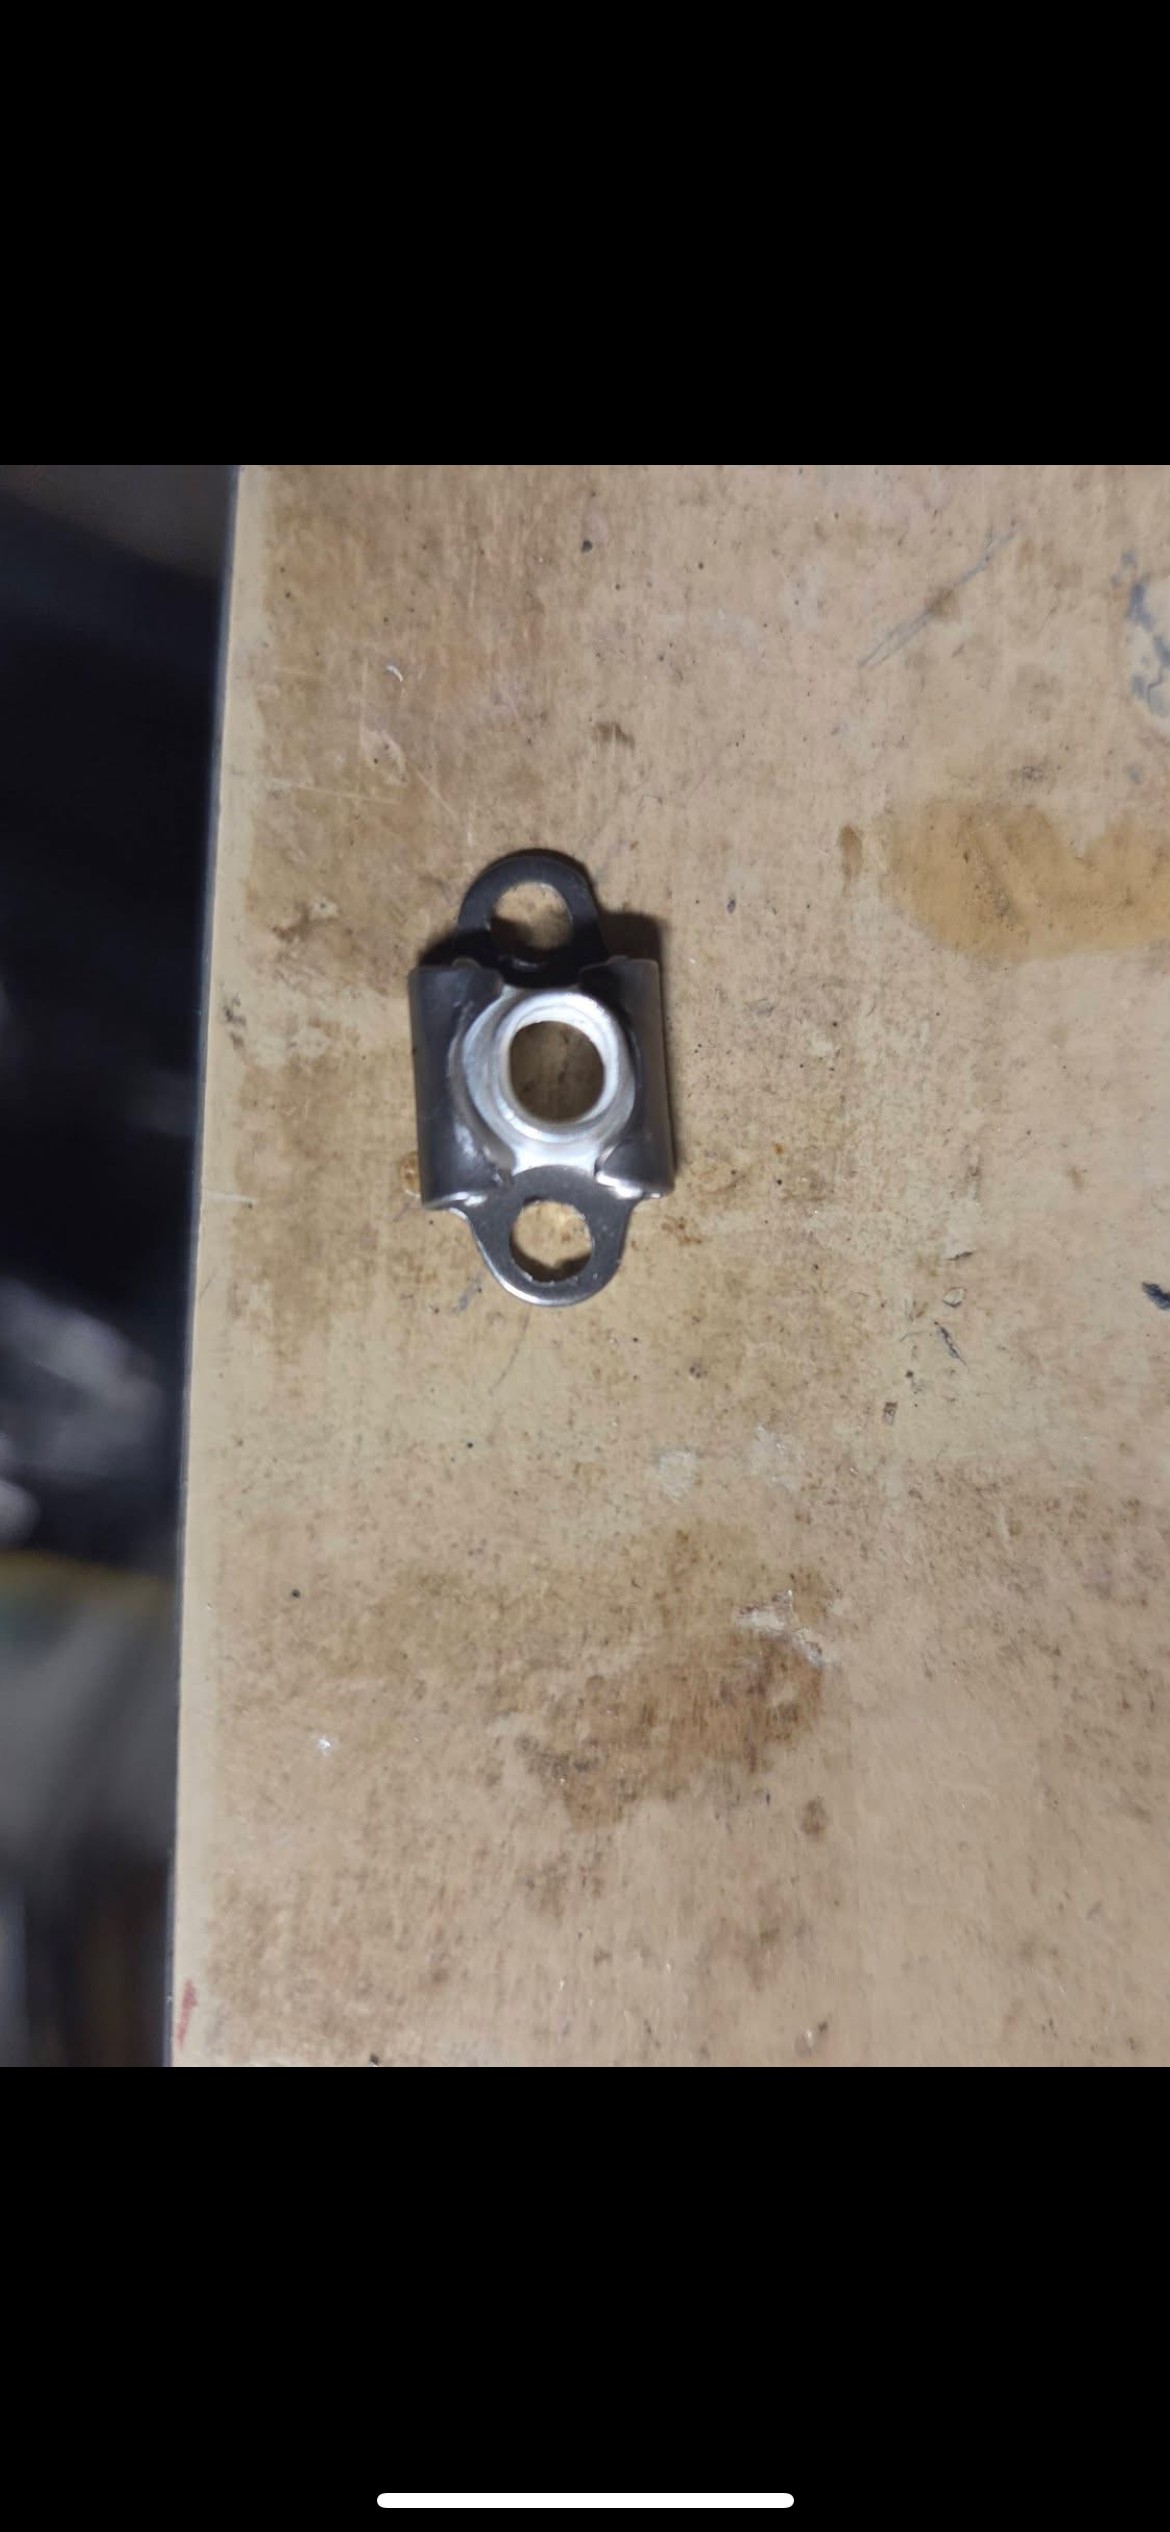
I used stainless steel 2 hole nutplates. They are attached with 1/4" flush head pop rivets. The nut element floats, so it can take misalignment and they have a crimp locking feature. The good thing is you don't have to repair the original hole. These are what Boeing uses for their removable composit panels.
I bought the nut plates, rivets, and drills on eBay. One thing to note is that the nutplates are intended for 3/32 (.093) rivets. (I had a .128 reamer) and a #30 120 degree center drill. You have to ream out each hole in the nutplate to take the 1/8 pop rivet. I ground a taper on thread side of a 10-32 socket head screw to use as a centering tool.
To install, I put the nut plate (flat side on the outside of the hole), screwed the socket head through from the back, letting the taper align the hole, then drilled the nutplate holes. Took it apart, put the nutplate on the backside of the hole and riveted them in. It takes a bit of finesse to get the countersink deep enough with the drill but if you over do it, it's not a big deal. I made a few samples to practice.
Nutplates came in bags of 10 for $15, 3 drills were $15. Rivets were $15 for a 100. You will need 3/4" long attachment screws.
by Leo Doyle
I have found the EXACT replacement for the original Litestar anchors. They are called Rivnut PN-Plusnut(tm). Their website address is:
www.bollhoff-rivnut.com The part number is S10P175
These are made to be used on materials like fiberglass. The tool used to afix these anchors is a bit on the pricey side (about $100).
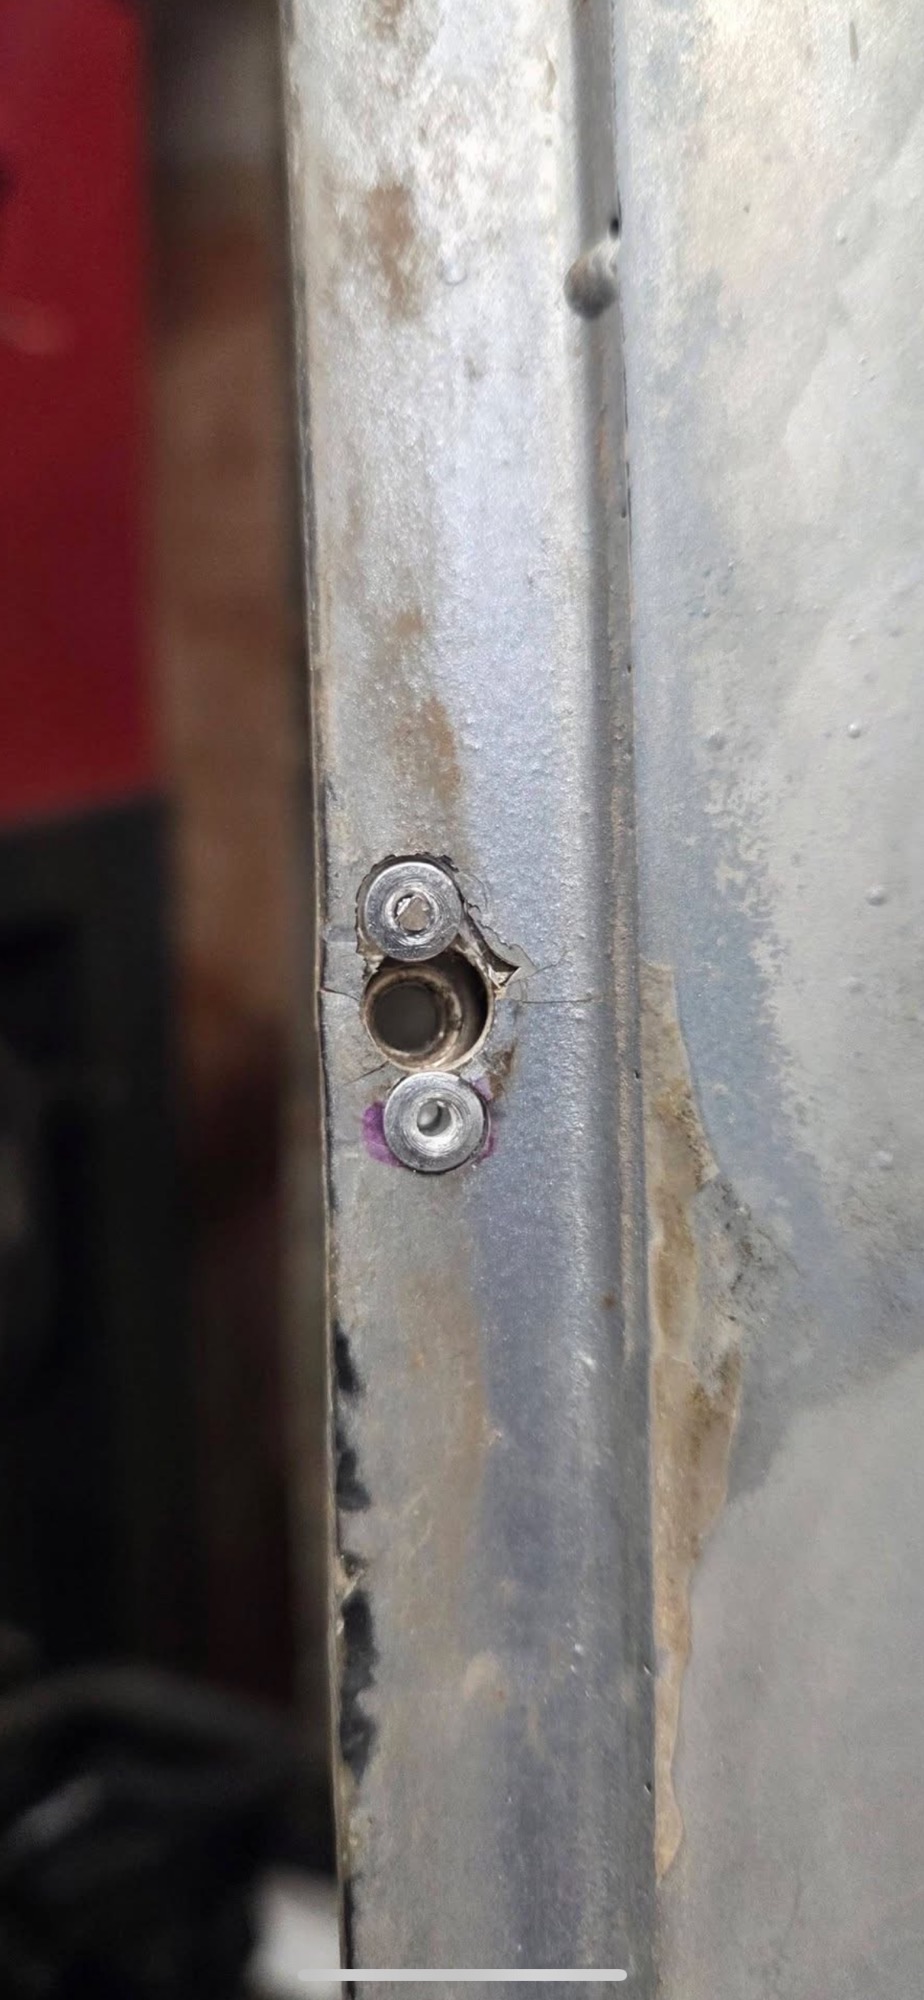
Here's what I did:
Drill out the old damaged fastener, put the new one in place and use the tool to permanently install them. There were some places where the fiberglass was damaged to the point that screw heads would go right thru the material.
First, I prepped the Pulse's fiberglass around the holes to be repaired by removing loose material, sanding the front and back, and cleaning up the dust created. I chopped up some fiberglass sheet material into small pieces. I then mixed up the resin and hardener, then mixed in the chopped up sheets to form a workable paste. I then filled in the larger holes to be repaired with this mixture. I used clear packing tape to keep the material in place and keep it from flowing down the side.
When dry, I sanded the material to match the rest of the Pulse's surface. I then drilled new holes into this to fix the damaged areas. Where I put in the screws into the materials, I countersank the holes after drilling to better accomodate the bolts.
I just finished my one Pulse and went for a test drive. The repairs held great - the Pulse is also a lot quieter now!
Use stainless steel screws.
Click Bond are good fasteners too!

Last Update: 1-20-26......
Disclaimer:
Litestar Pulse Website is provided to you free of charge, "as is."
The best efforts to maintain accurate Litestar Pulse
Website history, information, repair tips and content, however, it is
not responsible for the content of its information, opinion providers.
You should not assume that Litestar Pulse Website is error-free and
makes no guaranties as to the accuracy, currency, content, or quality
of any such information.